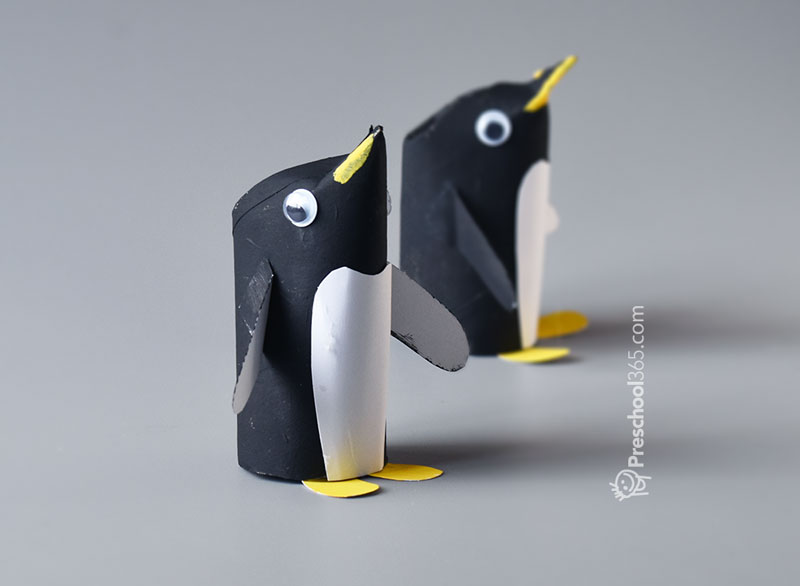
How to make a beautiful penguin from toilet paper roll.
How to make a beautiful penguin from toilet paper roll.
Especially for colder seasons, penguin artworks are so appropriate. For kids learning about the sound of P and polar animals, this craft comes in handy. It is easy to do and your little heart will enjoy the process. We only need a toilet paper roll and some white paper. Are you ready?
Steps.
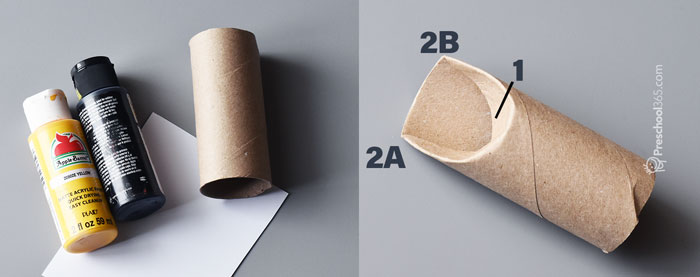
Tuck in one edge of the t-paper toll (See image label 1). Then pinch both resulting tips and hot-glue them together. Parent supervision is required.
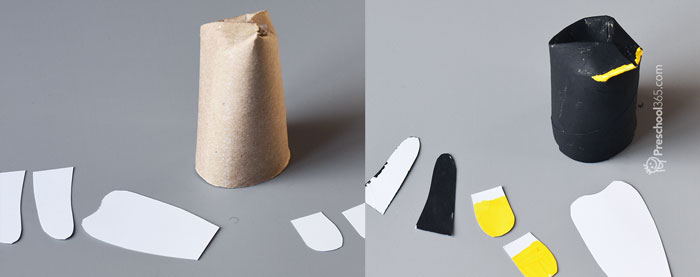
Next, cut out small strips of white paper. A pair for the feet, and another for the wings. Then a circular shape piece for the belly area. Please use estimation to fit your penguin.
Time to color the artifact.
Color the body of the penguin dark grey or black.
Color the feet yellow and one side of the wings black. The idea is, this will make the inside of the wings white, and the black on the other side will blend well with the back of the penguin.
Glue the feet onto the body, from the inside. Glue the wings on and the white pack to the belly.
In our example, we painted a stripe of yellow to the beak to give it a little real effect. Glue some eyes onto the head.
I hope you enjoyed your craft. Please share your work with us on any of our social media pages.