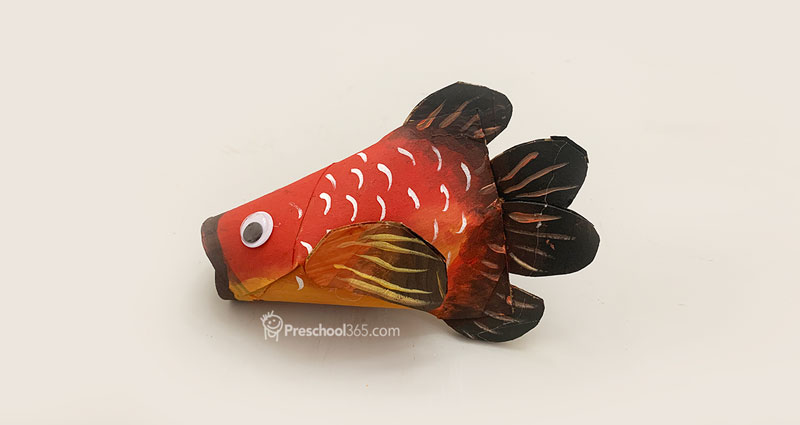
How to make a simple, beautiful and fun paper fish.
This one is a must-try! It’s easy, cute and so much fun. the theme engages the letter F (sound F, as in Fish!) It uses some bright colors and also a couple of shapes. So as you go through the notes and also on your project, be sure to use the key points to ensure that learning and retention are happening. Let’s get started.
Materials needed
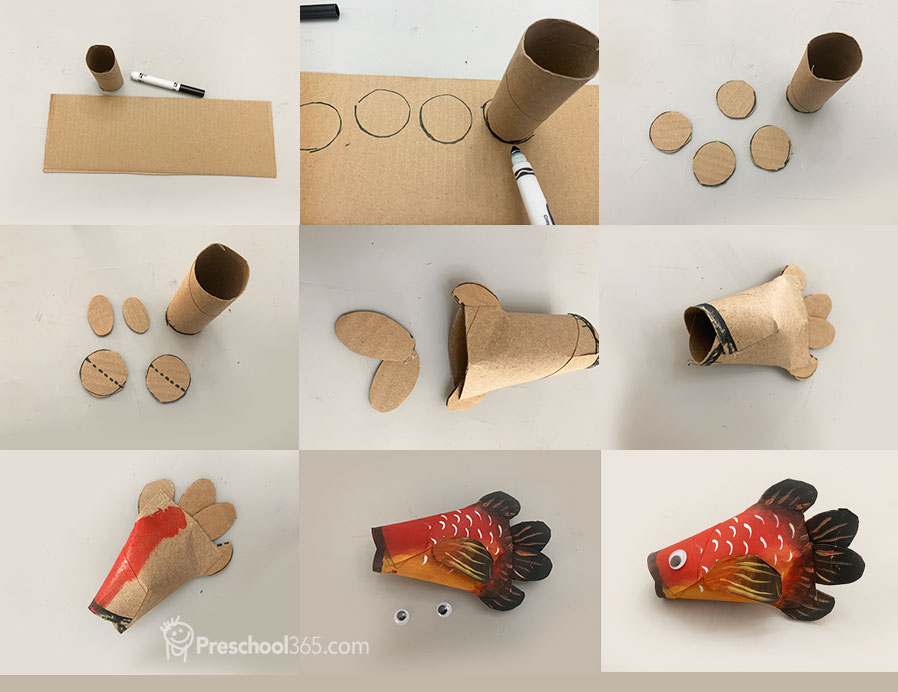
- One toilet paper roll and a piece of cardboard (just a card works even better). Cut out four circles from the card. The circles do not need to be perfect circles. You can use the roll as a guide to trace the size of the circles.
- Your regular cutting, gluing, and painting tools. Adult supervision is required with cutting.
- Some googly eyes.
Steps
- After cutting out the four circles, trim off two of them into ovals. We glue them together and use them for the tail of the fish.
- Divide the other two circles into halves and round the tips just a bit. These will be used for the fins soon.
- On one end of the roll, slit each side about 3/4 inch into the roll. Make a similar cut on the other side of the roll—BUT NOTE THIS, one end is top and down, and the other end is left and write. (see diagram below)
- Tuck one end in and glue it to make the mouth.
- Glue the two ovals at the end to make the tail.
- Flatten the tail end of the roll and glue the fins and tail in.
- Time to paint. Paint the body of the fish and fins with your favorite colors and wait for it to dry.
- Glue your side fins and eyes.
There is no right and wrong way to do craft work. Every project is a learning activity. Enjoy doing it and share your work with us..